Once you learn how to add visual overlays to OBS Studio, you will be well on your way to creating professional-looking video productions. For those starting out with live streaming, OBS (Open Broadcaster Software) is a popular choice.
The fact that it is free and easy to use, makes it an attractive option for those just dipping their toes in the water of producing live video. Its growing feature set and flexibility cause some users to stick with it even for more advanced productions.
One of the easiest ways to add a new dimension to live events in OBS Studio is to add visual overlays. Overlays can be used to add information and context to streaming video. That may be as simple as adding a logo to raise brand identity, using text to reinforce important points, or developing advanced graphics to add a more professional look and feel.
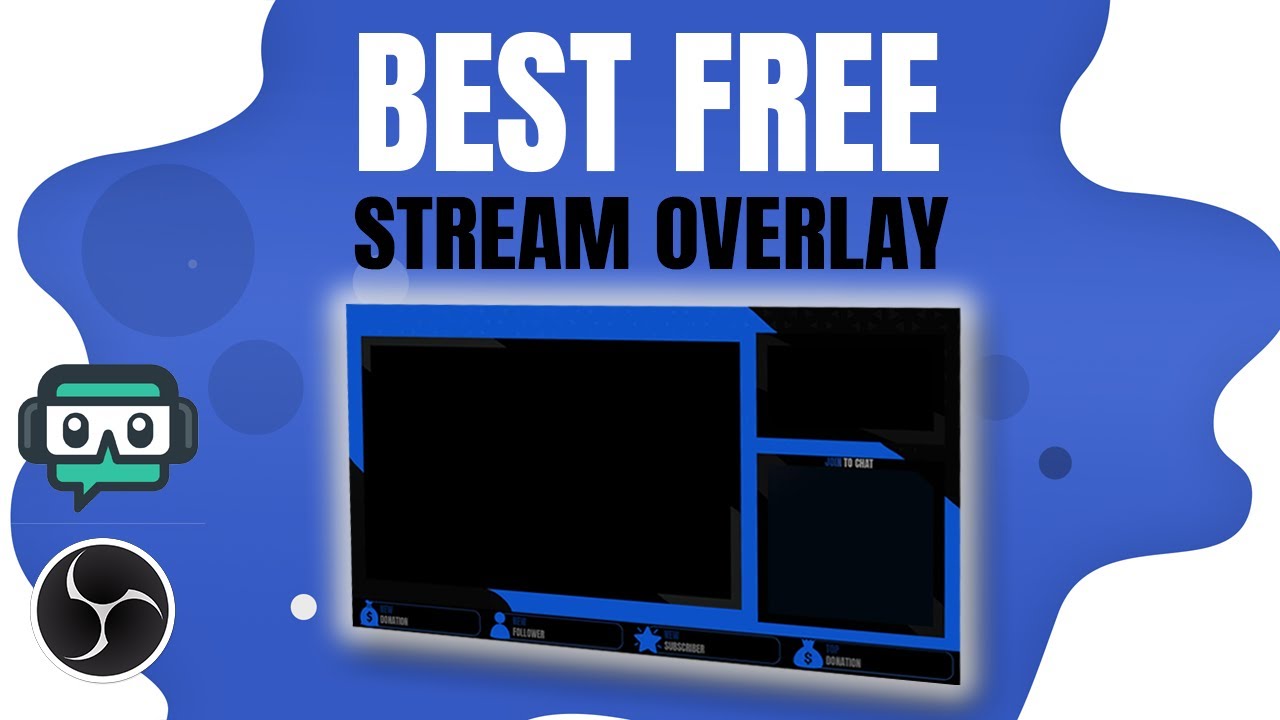 Most of us are familiar with visual overlays from television broadcasts. They are especially popular in news and sports programs. They include live news tickers on the bottom of the screen, sports and stats updates, and network logos. In OBS Studio, once you learn some basic steps, you can add these same visual features to your production.
Adding Visual Overlays to OBS Studio:
Step 1 – Create Your Scene
To effectively use visual overlays in OBS Studio, you will need to understand scenes. If you are new to OBS, you can learn more about them in our post Live Streaming Events with OBS Studio.
Scenes are composed of layers. It may be helpful to think of layers as individual pieces of paper. Each page you overlay covers the previous. If you were to place a totally opaque page on the top of the others, they would be obstructed, and you would only see the top page. This is, of course, unless there is a hole in the top page or part of it is translucent. It is the same with scenes.
You will want to create your scene that includes the video or image source you wish to display and then add your graphics so that your visual overlay is on the top layer and does not entirely cover the image(s) behind it.
Step 2 – Create Your Visual Overlay
You have many options for creating your visual overlay. It can be as simple as creating quick text within OBS Studio or designing graphics in an external program or service such as Photoshop or Canva and importing them.
Adding simple text within OBS will be covered below. When you make your graphic outside of OBS, consider how it will overlay the content behind it. This may mean that the overlay will be smaller than the image behind it. It may also help to design your graphic with a transparent background and save it in a format like PNG that will preserve the transparency. This will allow the layers behind it to show through the blank parts.
Adding Visual Overlays to OBS Studio: Step 3 – Add Your Overlay
Here is how to add your overlay graphic to a scene:

1. In OBS Studio, select your scene or create a new one in the “Scenes” box at the bottom left of the page.
2. Look for the “Sources” box right next to the “Scenes” box.
3. Click the “+” at the bottom of the “Sources” box.
4. Select “Image” from the list.

5. In the dialog box, be sure “Create new” is selected and name the image.
6. Press OK
7. Next to the “Image File” field, click Browse and locate the file on your computer.
8. Click OK
Once your image is loaded, you can adjust its placement among the layers using the up and down arrows in the “Sources” box. You can also use the preview window to drag and drop the image to change its position or adjust the size.
Once you have loaded the image, you can also add it to other scenes. Just select the scene you want, click the “+” in the sources box and select “Image.” You may now choose the “Add Existing” radio button and choose the name you created earlier.
Adding a Text Overlay from Within OBS Studio
If you wish to overlay simple text, start with step three above. This time, choose Text. Next, select “Create New,” name it, and click “OK.” In the dialogue box, type or cut and paste your text, then set the formatting using the “Select font” button. Click OK, and then you can manipulate the text box by dragging and dropping, just like with an image.
Get Started and Explore the Possibilities
Once you understand the basics of how to add visual overlays to OBS studio, there is no limit to what you can do. With some experimentation, you can learn how to turn overlays on and off with one key using hotkeys. You can also learn how to add text from an external file or even use a plugin to create dynamic text that changes as the data is updated.